Centos 7 installation
| Description | Hands On Lab Exercises for HPC |
|---|---|
| Related-course materials | HPC Administration Module1 |
| Authors | Ndomassi TANDO (ndomassi.tando@ird.fr) |
| Creation Date | 19/09/2019 |
| Last Modified Date | 19/09/2019 |
Summary
- RAID configuration for a dell server
- Prerequistes
- Softwares choice
- Disk partitionning
- Set Date and time
- Begin Installation
- Root and user password
- Set Date and time
- storage configuration
- Network configuration
- Install packages with yum command
- quotas management
- Create a local package repository
- Links
- License
CENTOS 7 INSTALLATION
RAID configuration for a dell server
modify the boot settings to boot in BIOS mode:
Boot the server and press F2 system setup.
Choose system BIOS
Choose Boot Settings
Then on Boot Mode choose BIOS then press exit and finish to go back to the normal boot
When you see that screen, just press CTRL +R to go inside the PERC H730P RAID configuration utility
Choose Create new VD
create The RAID disks
RAID disk allows you to regroup physical disk into a virtual one.
There are 7 disks available:
*  2 with 300 GB
*  5 with 4TB
We are going to create a RAID1 with the 2 disks of 300Go: they will be used to install the system.
We are going to create a RAID6 with the 5 remaining disk of 4To: they will used to store data.
create the Virtual disk:
Underline the PERC H730P Adapter (Bus 0x19, Dev 0x00) line and press F2
Choose create new VD
In RAID Level , choose RAID-1
Underline the 2 first disks and press enter to select them.
Press OK when your are done
Perform the same operation with the 5 remaings disks choosing RAID-6
Prerequisites:
A USB key or a CD is needed
Sources can be found here : https://www.centos.org/
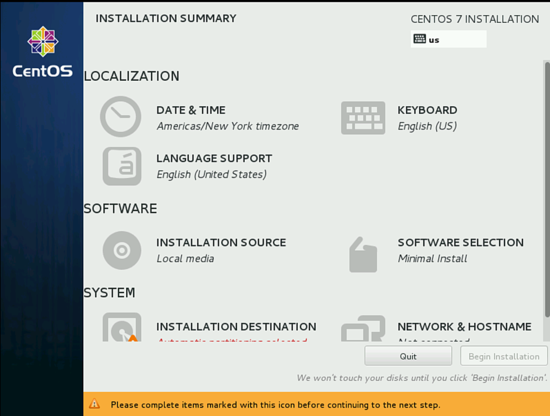
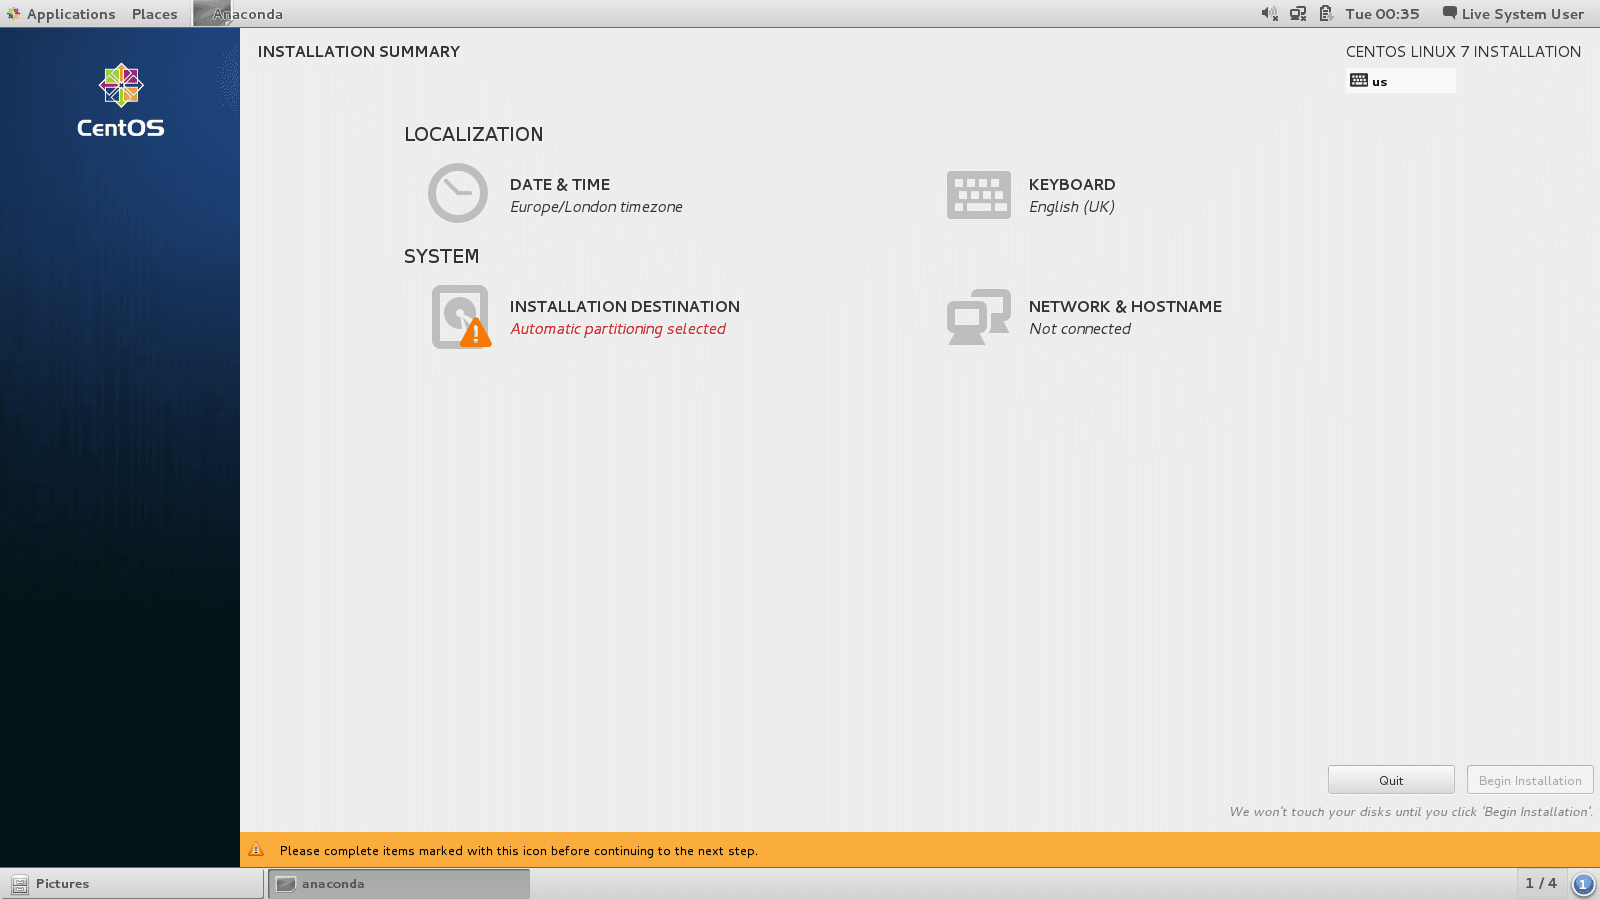
Installation:
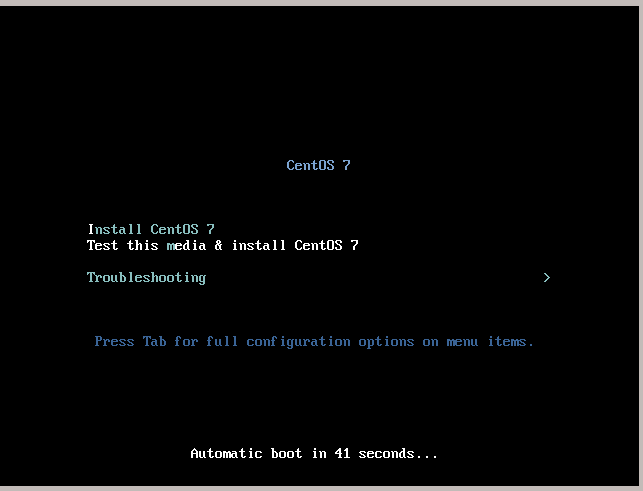
- Choose
Ìnstall Centos 7on the following screen:
- This screen appears:
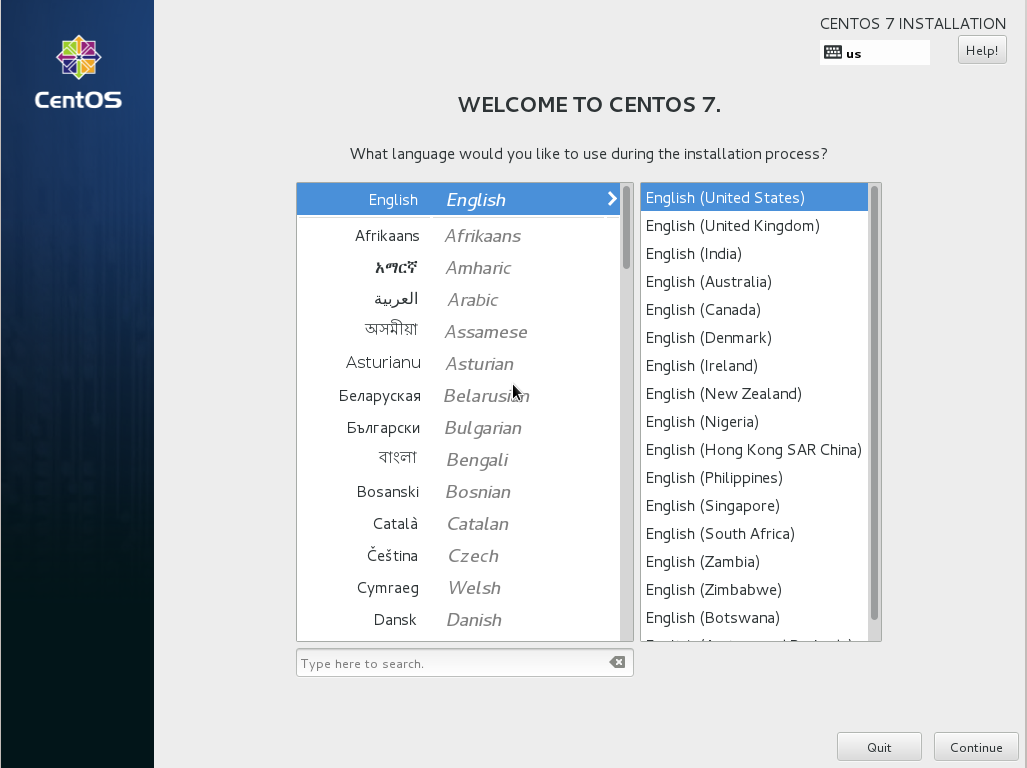
Language choice:
- Choose your language and click on
continue
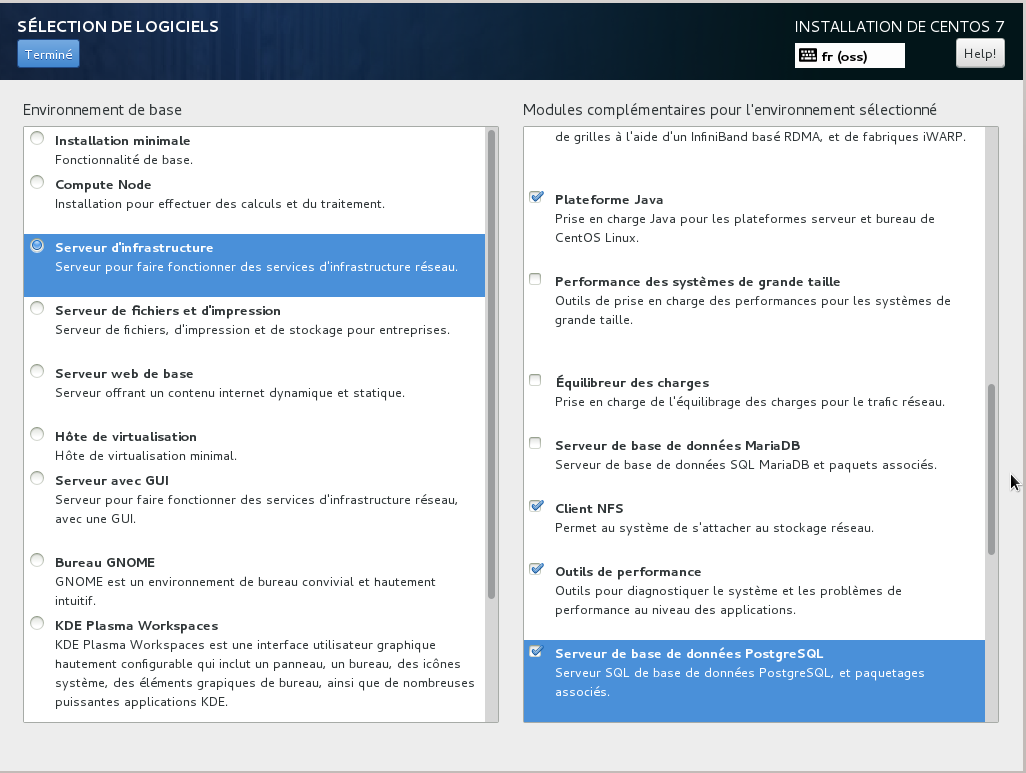
Softwares choice:
In Software selection, choose compute node with the following softwares:
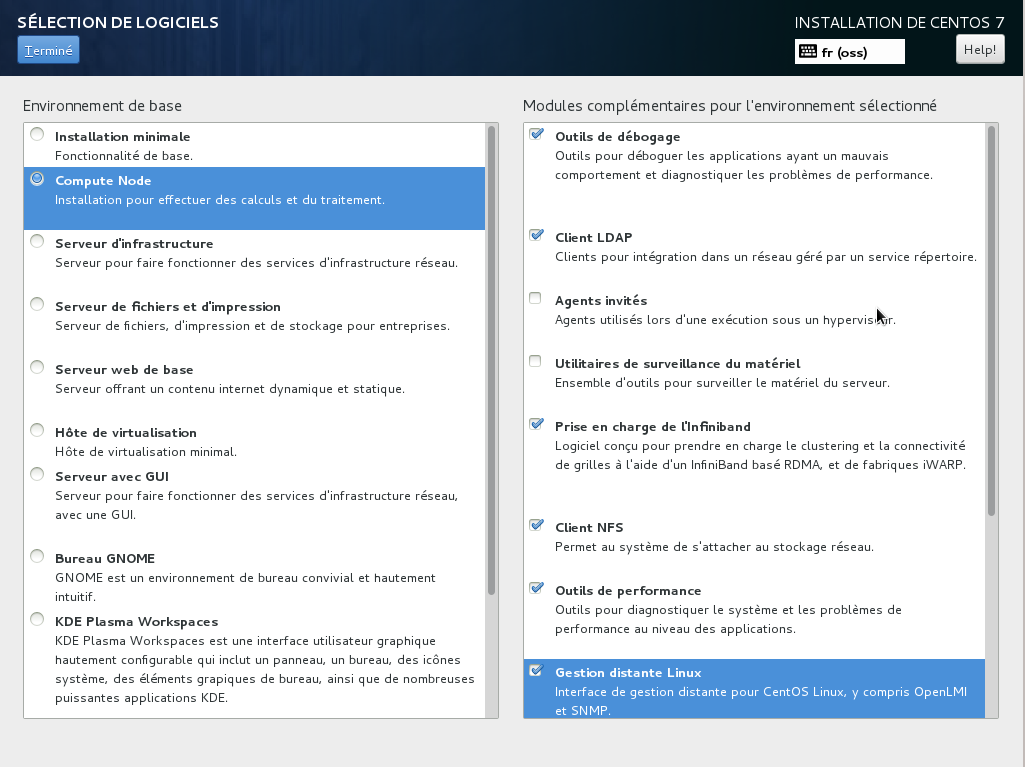
Then choose Infrastructure Server with the following softwares:
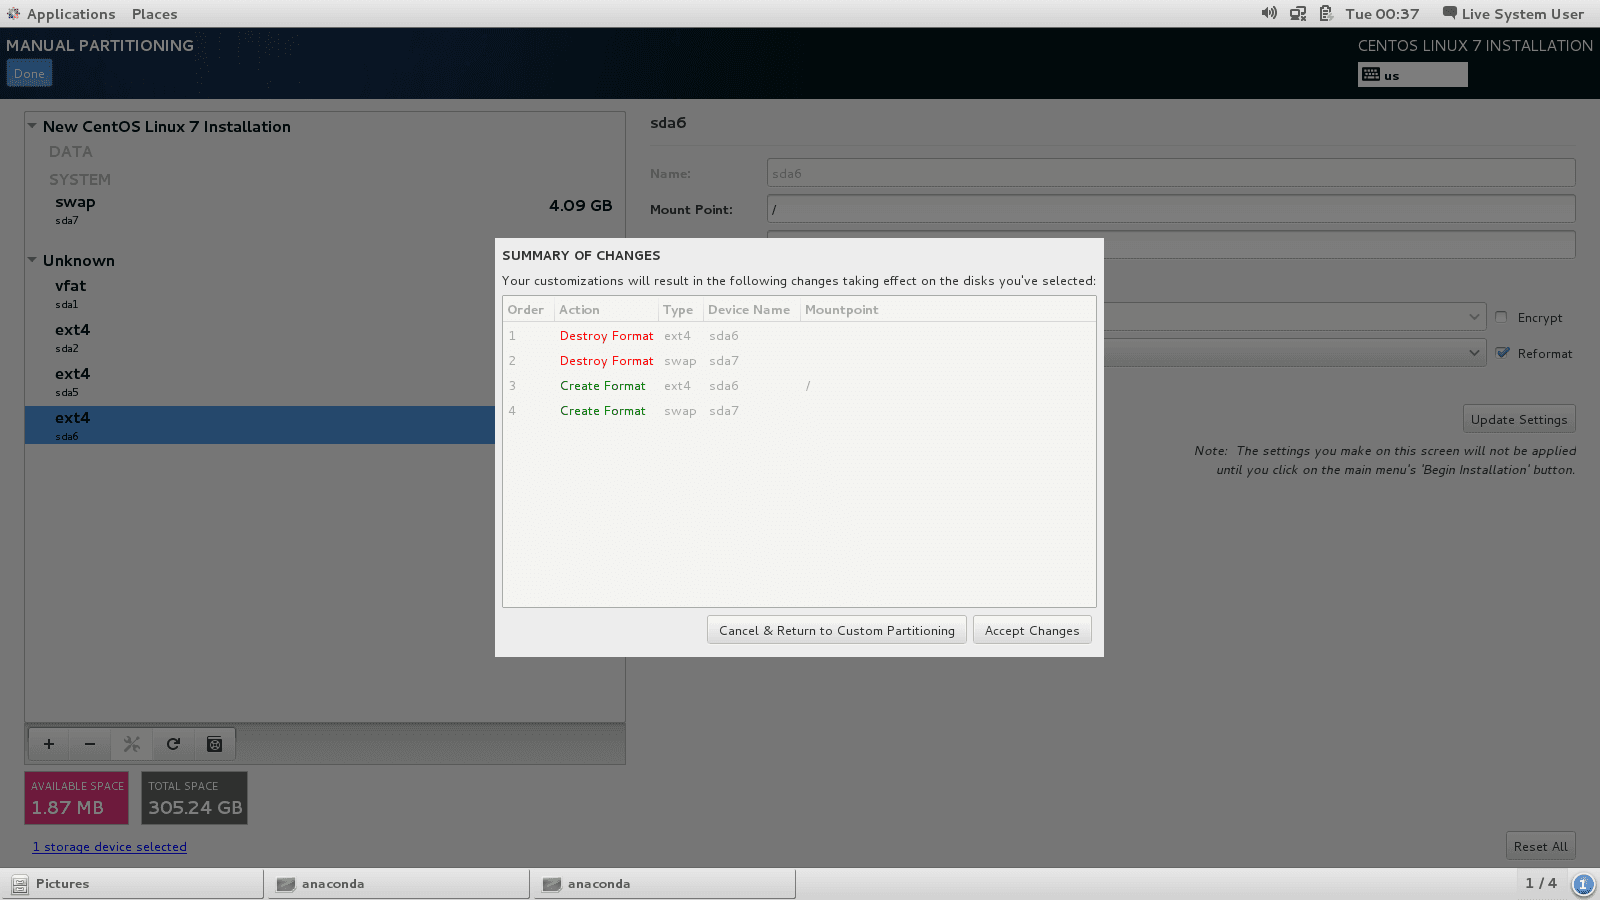
Disk partitioning:
We are going to create 4 partitions on the new system:
        • /home : hosts users personal data
        • /usr/local/bioinfo : hosts bioinformatics software
        • /data : hosts project data
        • /: hosts system configuration files
To implement the disk partitioning, choose System then Ìnstallation Destination
Select the hard drive on which you want to install Centos7 anc chose I will configure the partitioning:
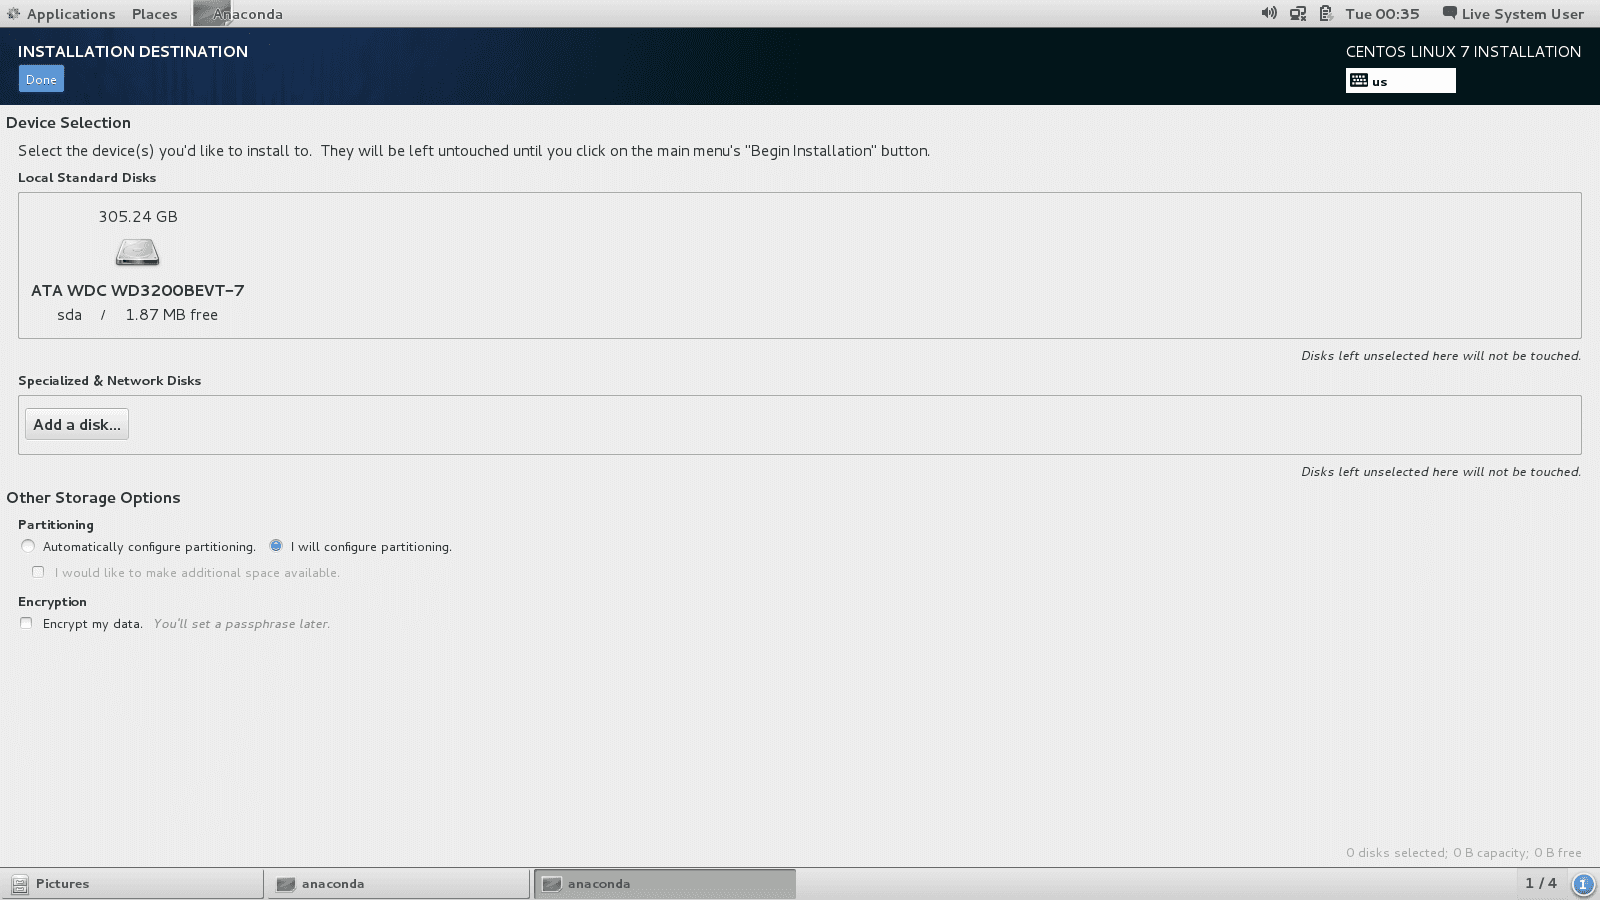
The partitions are going to be made in LVM.
Click on + to add a new partition:
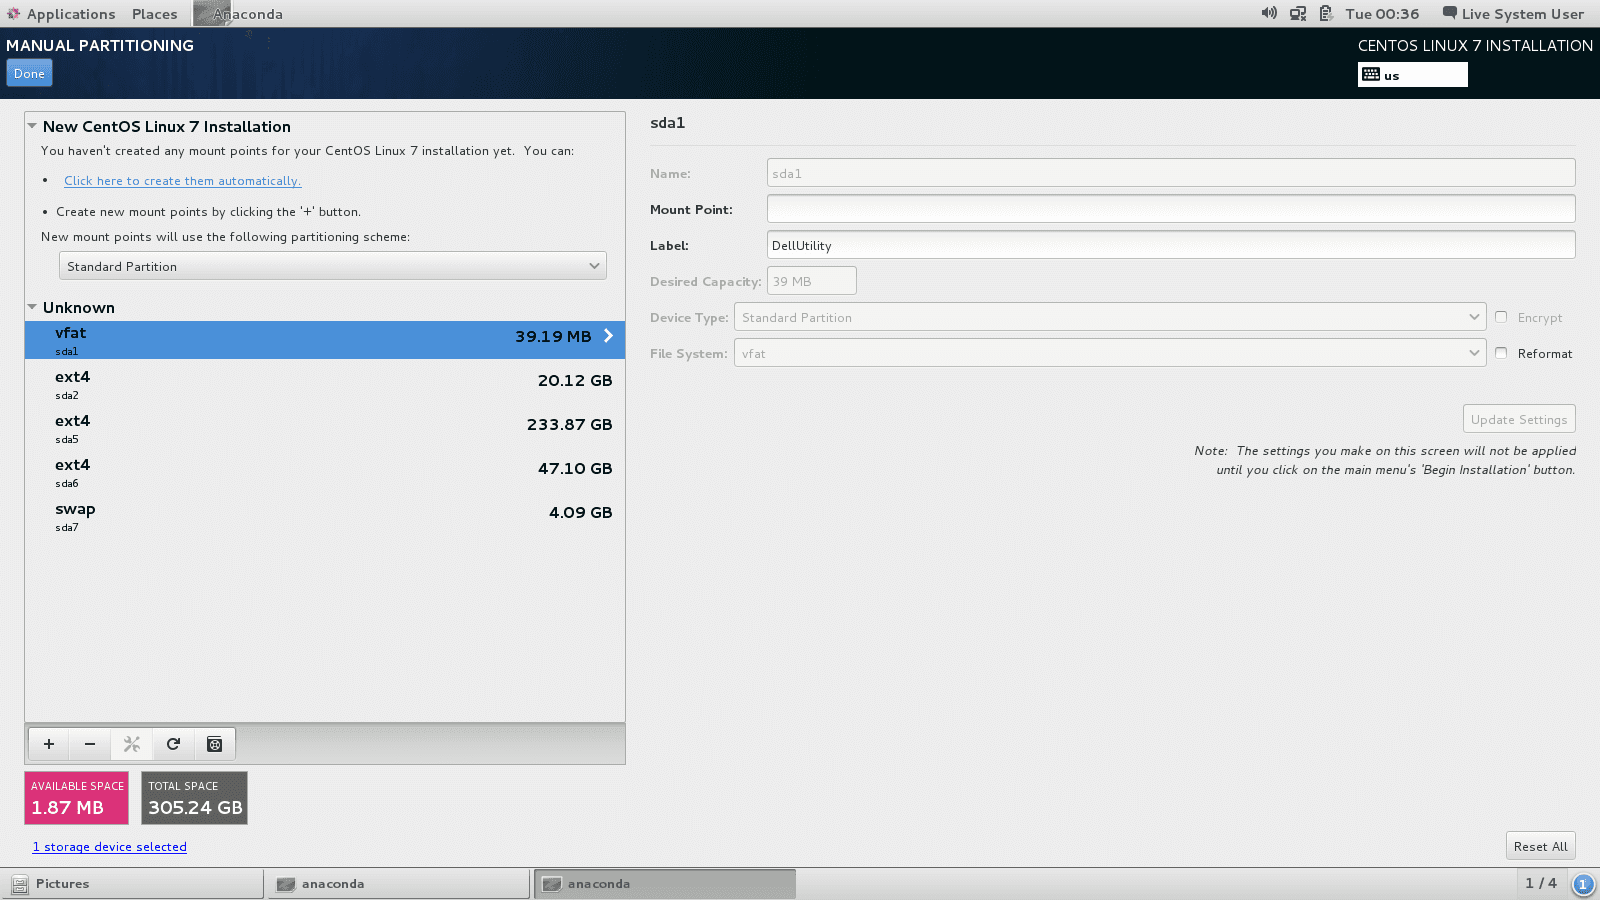
Create the following partitions with the specified features:
        *  /boot: 200Mo, mount point: /boot, type of partition: boot check the Reformatbox

        *  swap: 4000Mo, mount point: swap, type of partition: swap  check the Reformatbox

        *  /home: size to define, mount point: /home, type of partition: xfs  check the Reformatbox

        *  /data: size to define, mount point: /data, type of partition: xfs  check the Reformatbox

        *  /usr/local: size to define, mount point: /usr/local, type of partition: xfs  check the Reformatbox
Once all the partitions are defined click on done to continue
A windows appears and click Accept changes
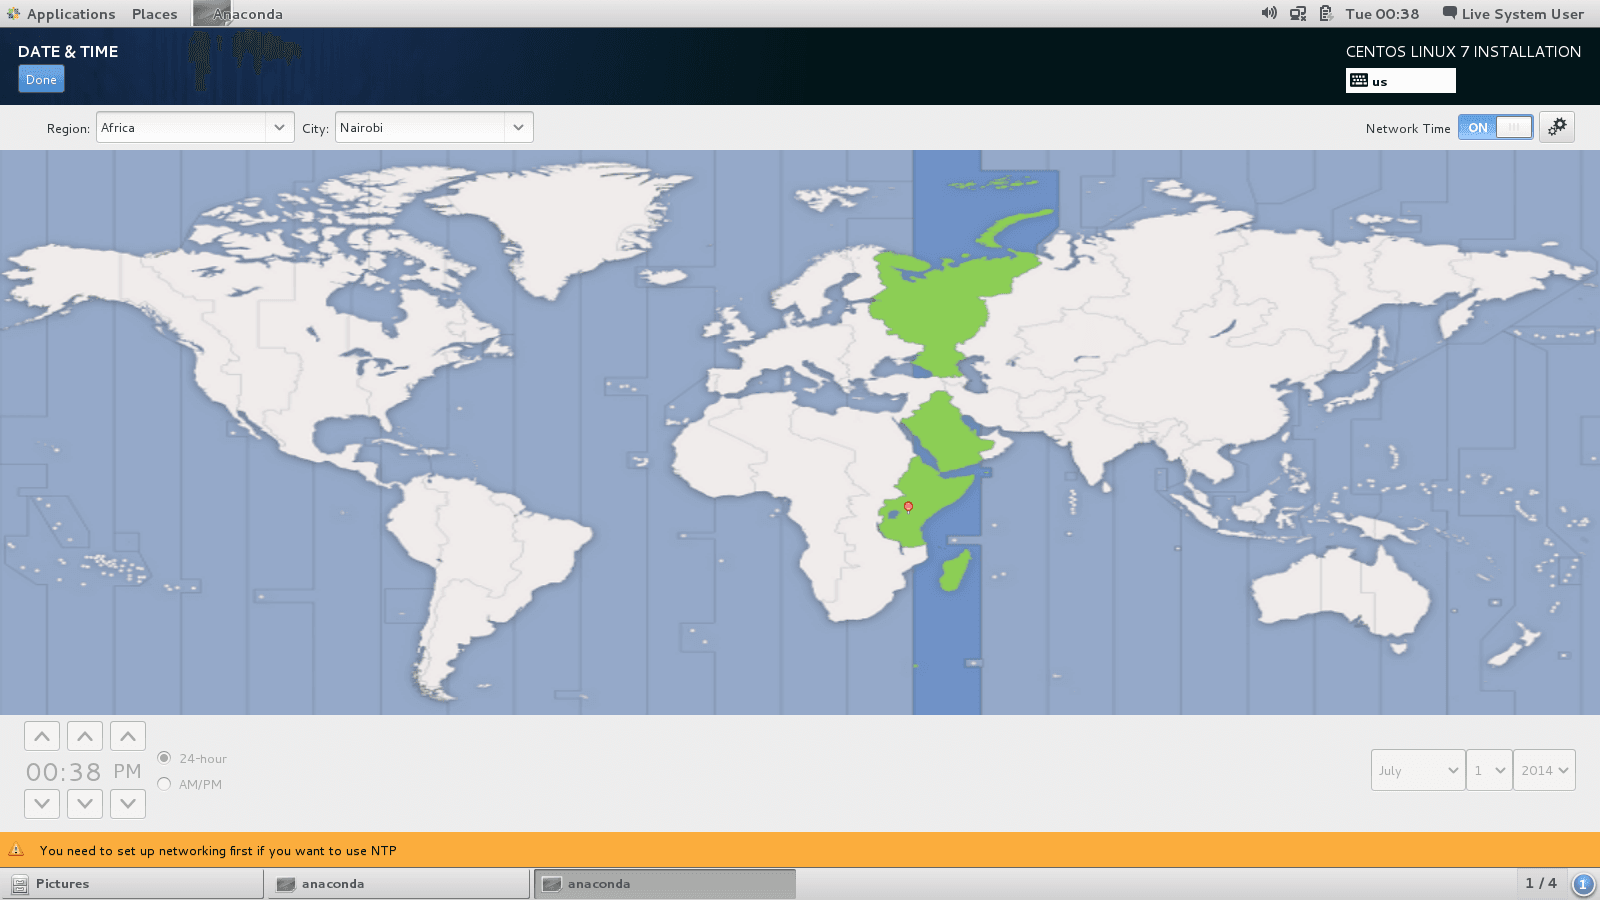
Set Date and Time:
Click on the clock icon under the localization menu and select a time zone from the map of the world, then click Done
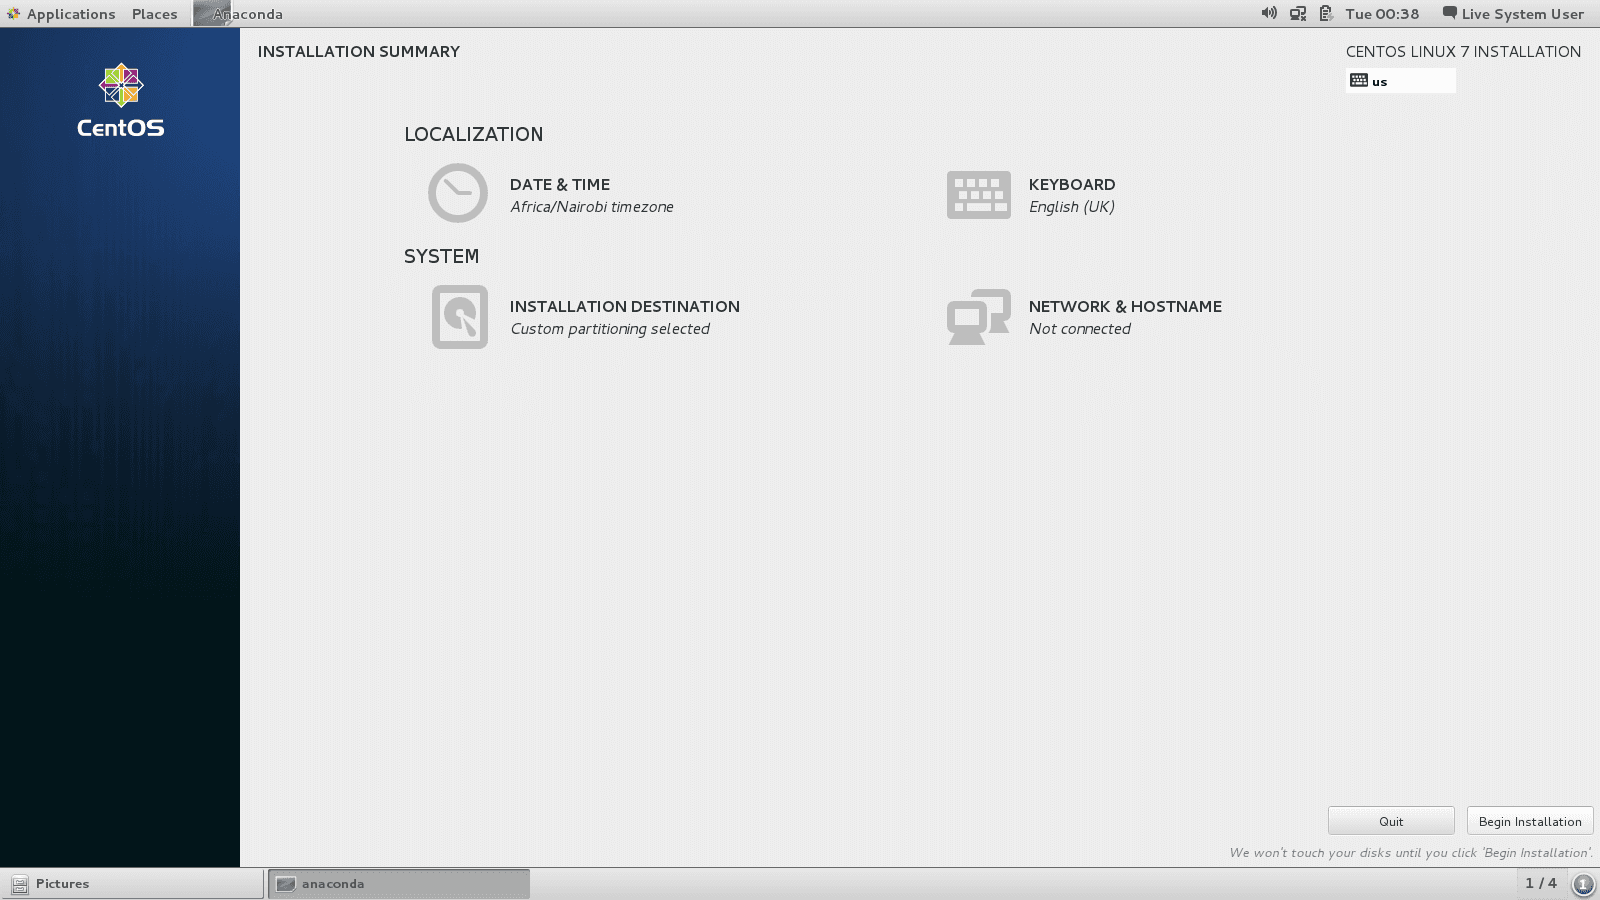
Begin Installation:
click on the Begin Installation button.
Root and user password:
The installation begins and you can create a user and choose a root password.
Choose a root password:
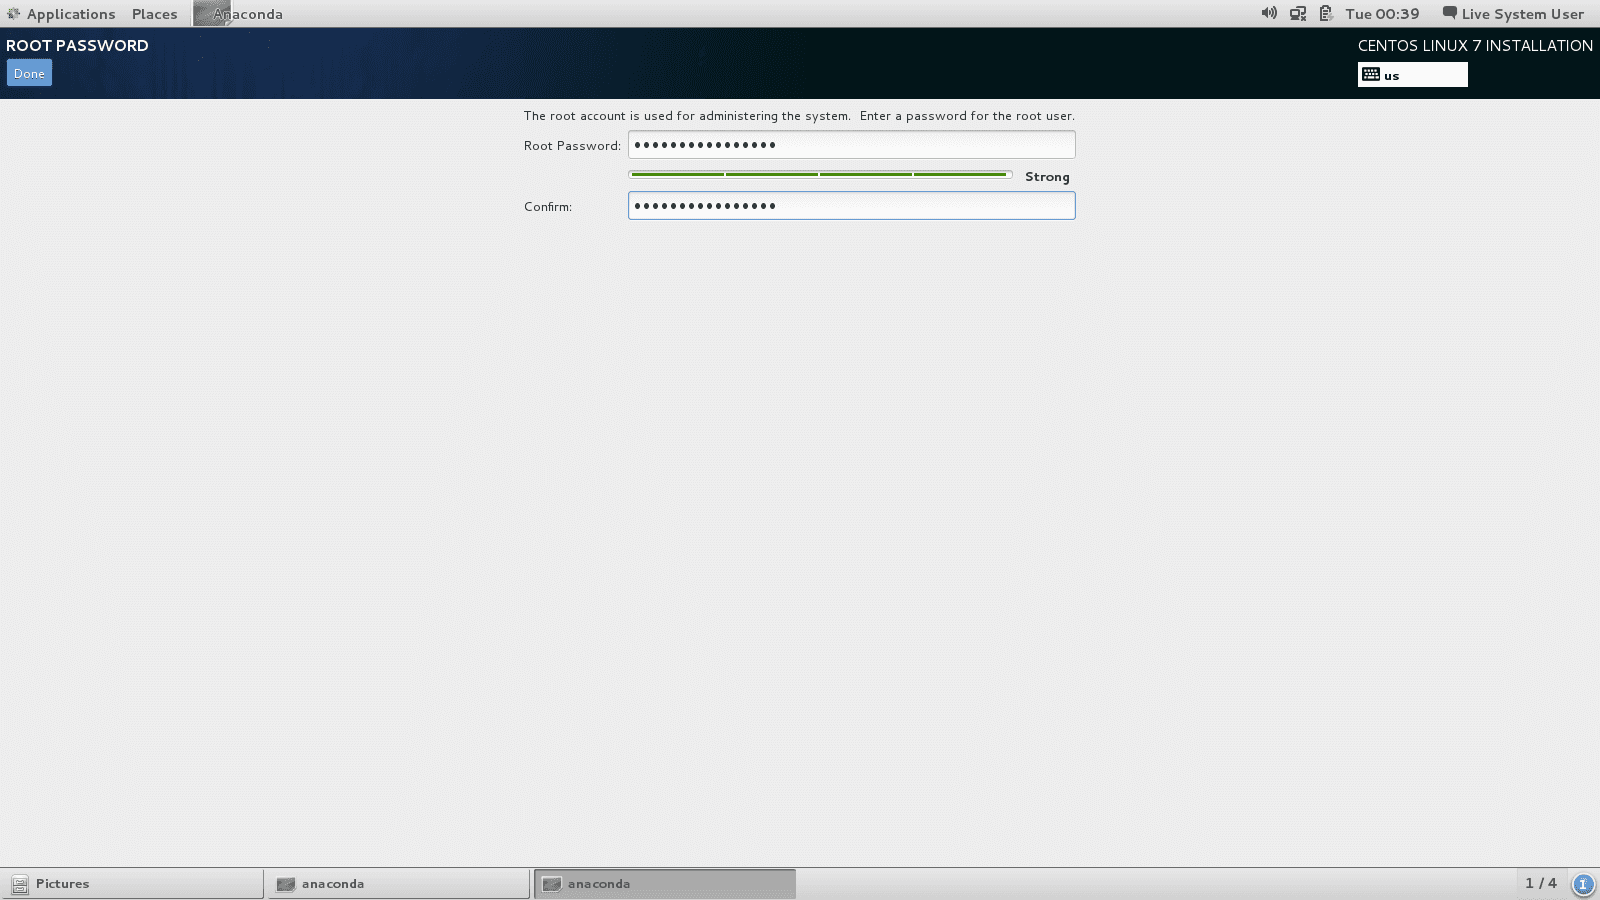
Then click Done
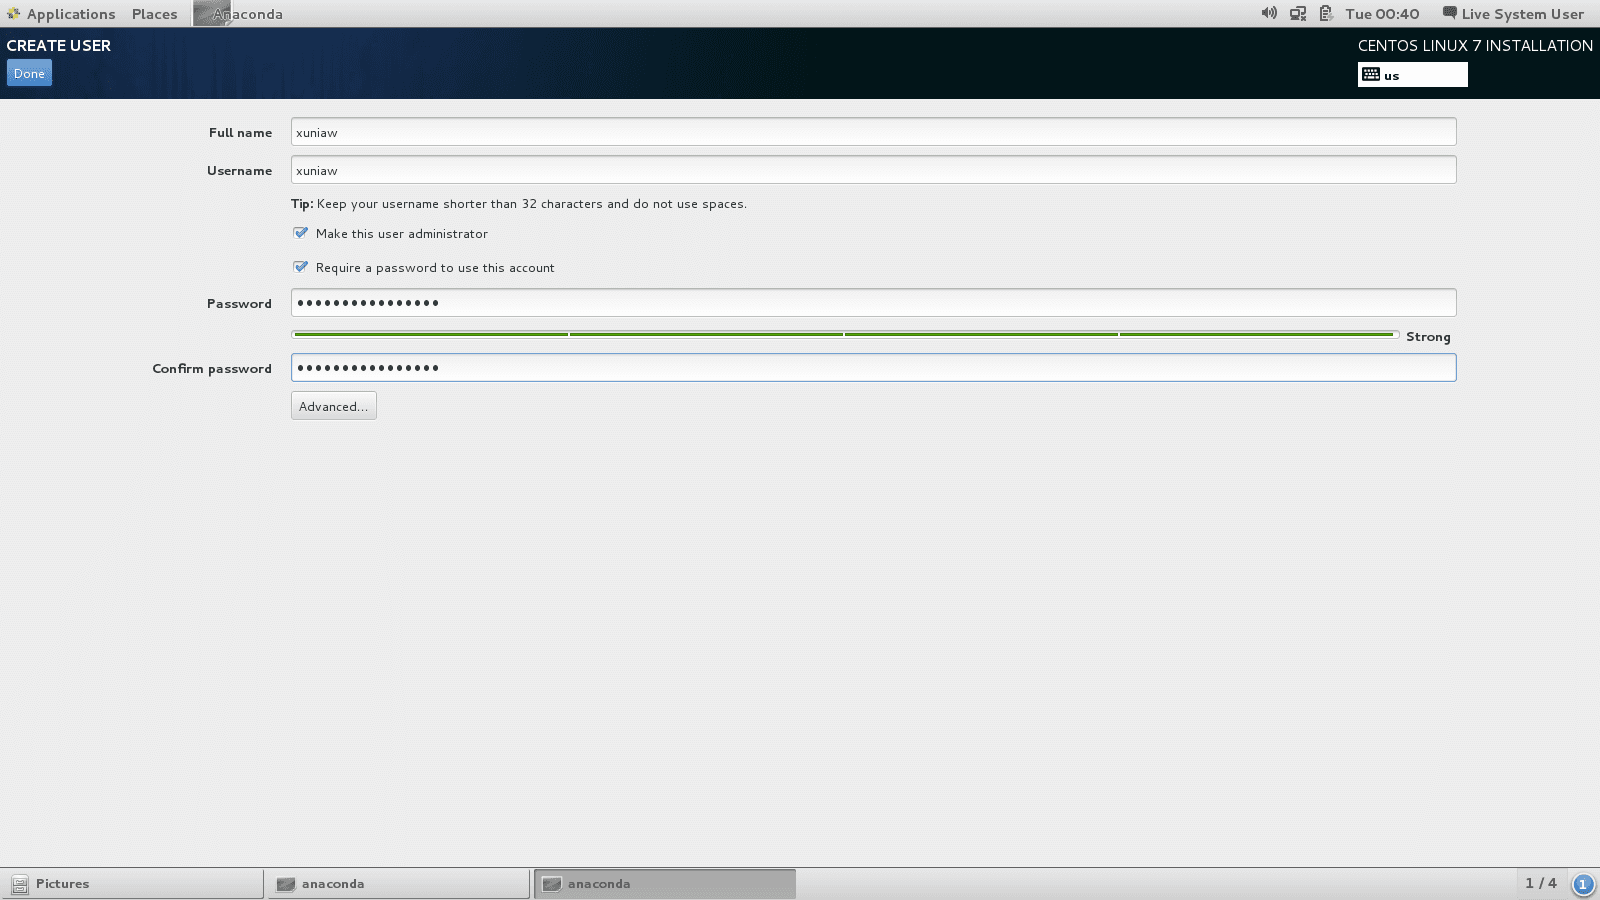
Create a user:
If you want this user to have admin rights tick Make this user administrator:
Name configuration:
To modify the name, launch the following command:
$ hostnamectl set-hostname name-serverstorage configuration:
We have to configure the RAID-6 disk to be able to mount them in the /data partition.
check the name of your device:
$ fdisk -lShows you the list of the hardrives and their names
On this server, it is /dev/sdb
Format the disk in GPT:
   $ parted /dev/sdb mklabel gpt
   $ parted /dev/sdb
   $ mkpart primary xfs 1 -1
   $ quit
/dev/sdb1 partition has been created.
Format partition in xfs:
$ mkfs.xfs -L data /dev/sdb1Mount the content of the device /dev/sdb1 into /data and enable the quota
Create the folder /data:
$ mkdir /dataModify the file /etc/fstab with:
/dev/sdb1 /data xfs pquota 1 2launch the following command to take into account the modifications:
$ mount -aNetwork configuration:
Deactivate selinux:
The security system selinux has to be deactivated to prevent essentials port to be blocked.
In a console, open the configuration file /etc/selinux/config and set SELINUXto disabled
Reboot the server to make the change permanent.
Disable firewalld:
 $ systemctl stop firewalld
 $ systemctl disable firewalld
Set the IP address:
Determine the name of the network interfaces with the command:
$ ifconfig -aIn the following example, the interface to configure is enp0s3

The configuration files for the network interfaces are located in : /etc/sysconfig/network-scripts/
Usually a network file is named : ifcfg-interface-name for example here it will be: ìfcfg-em1
Open the configuration file corresponding to the interface you want to configure and modify it like this:
 TYPE=Ethernet
 BOOTPROTO=static
 DEFROUTE=yes
 NAME=enp0s3
 ONBOOT=yes
 IPADDR0= * IP_Adress *
 PREFIX0= * netmask *
 GATEWAY0= * gateway_ip *
 DNS1=* DNS_Ip_server *
Launch the following command to implement the new configuration:
$ service network restart Add default route:
$ route add default gw GATEWAY_IP_ADDRESS INTERFACE_NAMEInstall packages with yum command
yum allows you to install packages on Centos from multiple repositories available on the Internet or locally.
To search for a particular package:
$ yum search package To install a particular package:
$ yum install packageTo list the version of a package:
$ yum list packagequotas management
Set up quotas on a XFS partition
1.in the /etc/fstab file for each xfs partition add uquota and pquota option:
- uquota: quota per user on the xfs partition
- pquota: quota per project on the xfs partition
/dev/sdb1 /data xfs uquota,pquota 1 2
2.Save the file, then type this command to validate modifications:
$ mount -aProject creation
1.Complete the files:
- /etc/projects with id_project:/path/project_name
- /etc/projid with project_name:id
_with id: the project number to increment each time
avec project_name: the projectname
2.Set up the quota with the following commands:
$ xfs_quota -x -c "project -s project_name"
$ xfs_quota -x -c "limit -p bsoft=199g bhard=200g project_name" /partition- with bsoft being the limit when the user is going to receive a warning. User has 7 days to remove data
- bhard: effective limit
Monitor quotas project
   $ xfs_quota -xc "report -hp" /partition
   $ xfs_quota -xc "report -hp" /data
User quota creation
$ xfs_quota -x -c "limit -u bsoft=99g bhard=100g user" /home Monitor quota user
{% highlight bash %}$ xfs_quota -xc 'report -hu' /partition
$ xfs_quota -xc 'report -hu' /home {% endhighlight %}
Delete a quota
Set the limits to 0
{% highlight bash %}$ xfs_quota -x -c "limit -p bsoft=0g bhard=0g projet"
$ xfs_quota -x -c "limit -u bsoft=0g bhard=0g user" /home {% endhighlight %}
Create a local package repository
When a server is not connected to the Internet, it is sometimes convenient to be able to install packages from a local repository.
### copy the USB key or DVD:launch the following command:
{% highlight bash %}$ mkdir /opt/Centos7
$ mount /dev/sdc /mnt # /dev/sdc being the DVDROM or USB key device path
$ cp -r /mnt/* /opt/Centos7{% endhighlight %}
Modify the file /etc/yum/repos.d/Centos-Base.repo
In the [base]section, comment the ligne mirrolistand replace baseurl line with:
baseurl=file:/opt/Centos7In the sections [updates], [extras] and [centosplus] add the follwing line:
enabled=0Links
- Related courses : HPC Trainings
License